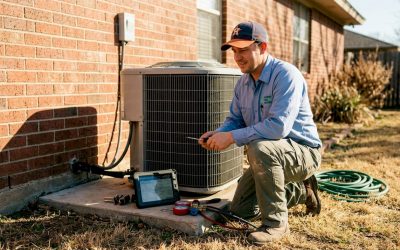
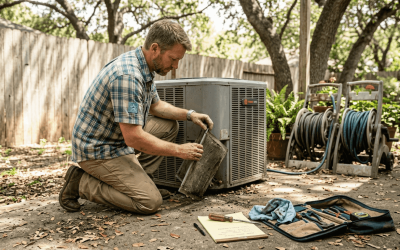
Did you know that a ductless mini-split system can cut your energy costs by up to 30 percent compared to traditional HVAC setups? Choosing the right installation approach makes all the difference, especially in Texas, where summers can put your comfort to the test. A well-planned setup can help you enjoy reliable cooling and heating while keeping your utility bills low and your home comfortable year-round.
Quick Summary
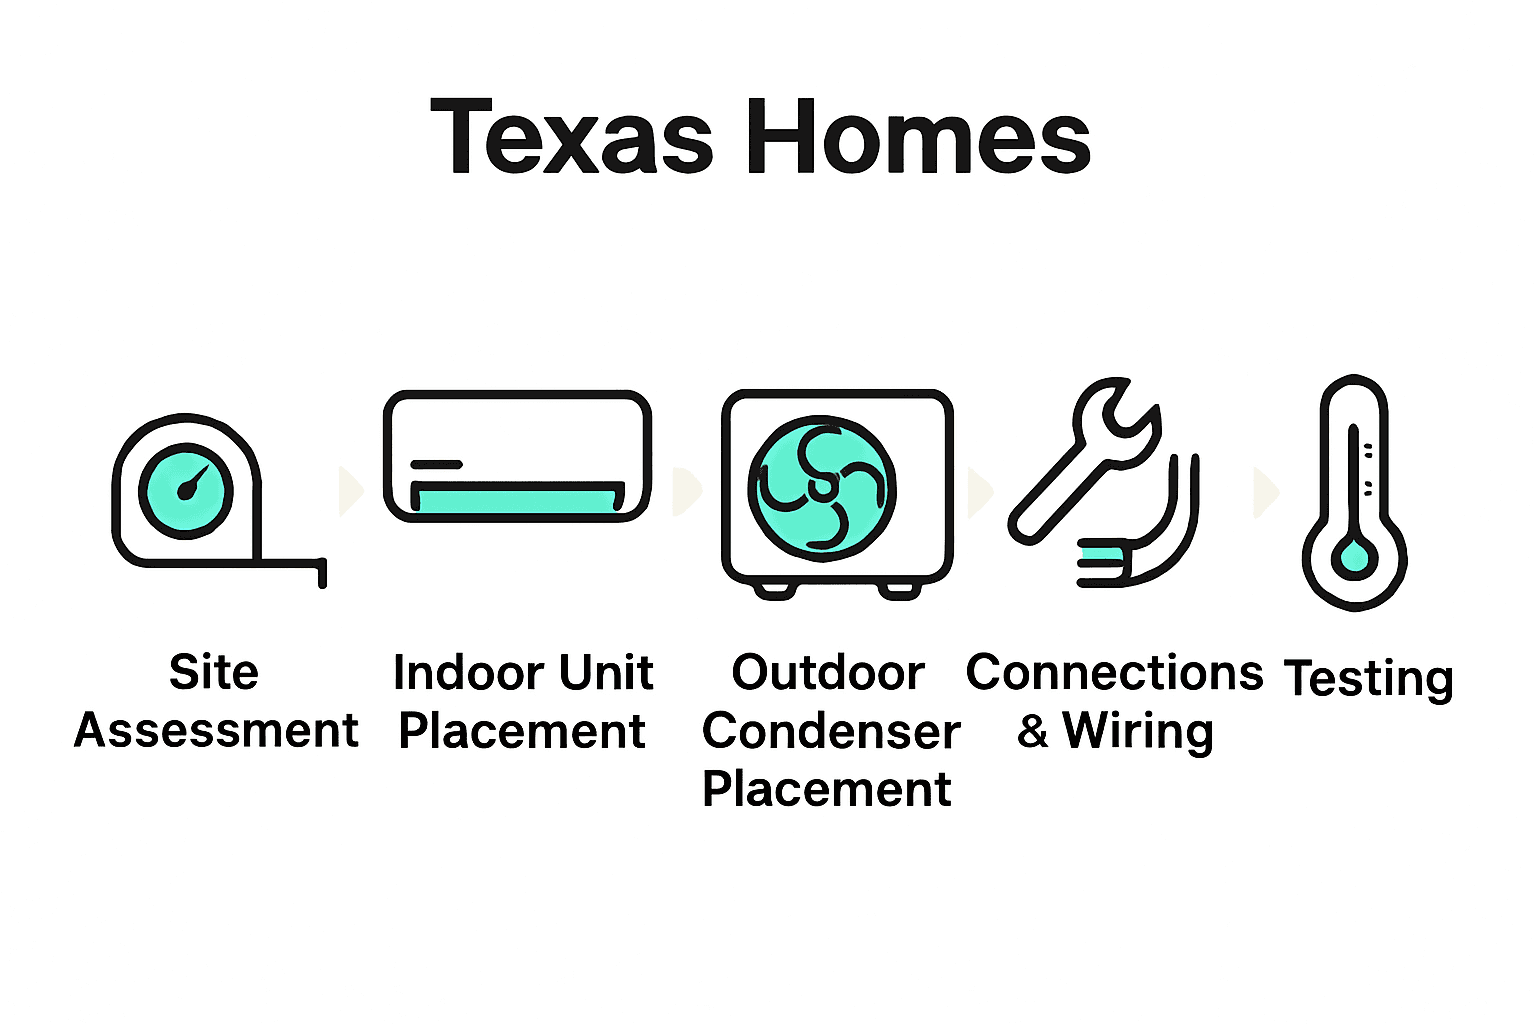
| Key Point | Explanation |
|---|---|
| 1. Assess site for optimal system size | Measure area square footage and consider layout to determine needed system capacity. Accurate evaluation ensures efficient performance. |
| 2. Position indoor unit for best airflow | Mount the indoor unit on a structurally sound wall, ensuring unobstructed airflow and easy maintenance access for effective heating and cooling. |
| 3. Choose a stable outdoor unit location | Install the condenser on a firm, level surface away from walls and debris to ensure efficient operation and longevity of the system. |
| 4. Properly connect refrigerant lines and wiring | Carefully secure all connections using a torque wrench, protecting from moisture to ensure efficient refrigerant circulation and system operation. |
| 5. Seal connections and test the system | Seal all connections to prevent refrigerant leaks and test the system’s operation for smooth airflow and consistent temperature control. |
Step 1: Assess Installation Needs and Site
Before installing a ductless mini-split system, you need to conduct a thorough site assessment to ensure optimal performance and efficiency. This critical first step determines the right system size, placement, and configuration for your Texas home.
According to the U.S. Department of Energy, a comprehensive site evaluation involves several key considerations. Start by measuring the square footage of the area you want to heat or cool. Professional HVAC technicians will perform a load calculation to determine the precise capacity needed. You will want to examine factors like room layout, window placement, insulation quality, ceiling height, and sun exposure. Each of these elements impacts the system’s performance and efficiency.
Pay special attention to potential mounting locations for your indoor and outdoor units. Look for walls with sufficient structural support near electrical connections and with minimal obstructions. Outdoor units need clear space for airflow and should be protected from direct sunlight and extreme weather. Pro tip: Avoid placing units near heat sources like fireplaces or direct sunlight streaming through windows, as these can interfere with temperature sensing and efficiency.
Once you have completed your site assessment, you will be ready to move forward with selecting the right ductless mini-split system for your specific needs. This preparatory step ensures your new HVAC solution will provide maximum comfort and energy efficiency.
Step 2: Position and Secure Indoor Unit
Positioning your ductless mini-split’s indoor unit correctly is crucial for optimal performance and comfort in your Texas home. This step requires careful consideration of placement to ensure efficient cooling and heating throughout your living space.
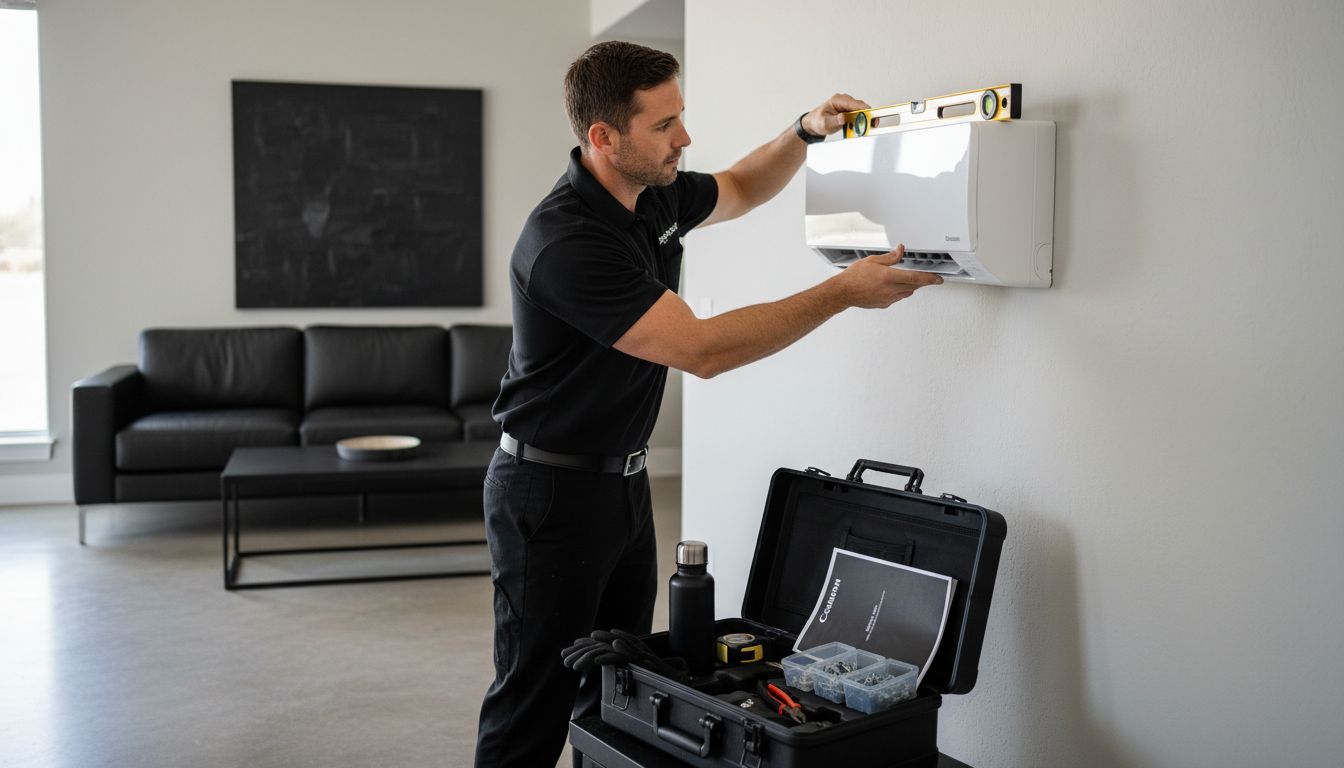
According to Alpine Home Air, selecting the right wall is fundamental to successful installation. You will want to choose a structurally sound wall that can support the unit’s weight and provide stable mounting. Look for a location that allows unobstructed airflow and offers easy access for future maintenance. As Lowe’s installation guidelines recommend, position the unit at least 4 inches away from the ceiling to ensure proper air circulation and prevent potential performance issues.
When mounting your indoor unit, prioritize areas away from direct heat sources such as fireplaces, stoves, or direct sunlight. Avoid locations near steam-producing appliances or areas with potential flammable gas exposure. Pro tip: Use a level to ensure the unit is perfectly horizontal during installation. This prevents condensate drainage problems and helps maintain the system’s long-term efficiency. Proper positioning now will set the stage for reliable comfort and optimal performance of your new ductless mini-split system.
Step 3: Install Outdoor Condenser Unit
Installing the outdoor condenser unit is a critical step in your ductless mini-split system setup. This component plays a crucial role in heat exchange and overall system efficiency for your Texas home.
According to Home Depot installation guidelines, selecting the right location for your outdoor unit is paramount. You will need to choose a firm, level surface that provides adequate clearance for airflow and protects the unit from direct wind exposure. Jupitair HVAC recommends assessing the location carefully to ensure optimal performance and system longevity.
When positioning the outdoor unit, ensure it is at least 12 inches away from walls and has unobstructed space around it. Avoid areas with excessive debris, potential snow accumulation, or direct sunlight. Pro tip: Use a concrete pad or mounting bracket to provide a stable base that prevents vibration and potential damage. This careful placement will help maintain your system’s efficiency and reduce potential wear and tear.
With the outdoor condenser securely installed, you are one step closer to enjoying comfortable temperatures in your home.
Step 4: Connect Refrigerant Lines and Wiring
Connecting refrigerant lines and electrical wiring is a precise process that requires careful attention to detail for your ductless mini-split system to function correctly. This critical step ensures proper system communication and refrigerant circulation throughout your Texas home.
According to Alpine Home Air, you will need specialized tools and techniques to prevent potential leaks and maintain system efficiency. Begin by carefully guiding the line set through a pre-drilled wall opening, ensuring a clean and secure pathway. As recommended by Lowe’s installation guidelines, use a torque wrench when tightening connections to guarantee proper sealing and prevent future refrigerant loss.
Pro tip: Double-check all electrical connections and verify that the voltage matches your system specifications. Take extra care to protect wire connections from moisture and potential environmental damage. Insulate refrigerant lines thoroughly to maintain optimal thermal performance. With these connections complete, your system is nearly ready to provide efficient cooling and heating for your living space.
Step 5: Seal Connections and Test System
Sealing connections and testing your ductless mini-split system is the final crucial step that ensures your installation will operate safely and efficiently. This stage confirms that all components are properly installed and functioning as they should for your Texas home.
According to Alpine Home Air, you will need to carefully seal all connections to prevent potential refrigerant leaks and system inefficiencies. Lowe’s installation guidelines recommend arranging pipes and cables neatly and securing them with UV-resistant vinyl tape to protect against environmental exposure. During your system test, run the unit through heating and cooling cycles to verify complete operational performance.
Pro tip: Listen carefully for any unusual sounds during the test run and monitor the system’s initial performance closely. Check for smooth air distribution, consistent temperature control, and verify that all electrical and refrigerant connections remain secure. If you notice any irregularities, consult a professional HVAC technician immediately. With successful testing complete, you are now ready to enjoy efficient and reliable temperature control in your home.
Expert Ductless Mini Split Installation Backed by Local Texas Experience
Understanding the importance of a precise setup helps avoid common problems like poor airflow, refrigerant leaks, and inefficient temperature control. If you want your ductless mini split to perform flawlessly in your Texas home, professional assessment and expert installation are key. From evaluating the ideal placement to ensuring tight refrigerant connections, our experienced team at Colley Refrigeration is ready to help you enjoy lasting comfort without the stress.
Don’t wait until discomfort sets in—visit Colley Refrigeration today and schedule your installation or maintenance appointment. Take advantage of our transparent pricing and 24/7 emergency support to keep your home comfortable year-round.
Frequently Asked Questions
What is the first step in installing a ductless mini split system?
Before installing a ductless mini split system, conduct a thorough site assessment. Measure the square footage of the area to be heated or cooled and evaluate factors like room layout and insulation quality to determine the right system size and placement.
How do I position the indoor unit for my ductless mini split?
Position the indoor unit on a structurally sound wall that allows unobstructed airflow and easy access for maintenance. Ensure it’s at least 4 inches away from the ceiling and away from direct sunlight or heat sources to optimize performance.
What should I consider when installing the outdoor condenser unit?
Select a firm, level surface for the outdoor condenser unit, ensuring at least 12 inches of clearance for airflow. Avoid locations prone to debris or direct sunlight to enhance system efficiency and longevity.
How do I connect refrigerant lines and electrical wiring?
Carefully guide the refrigerant line set through a pre-drilled wall opening and use a torque wrench to tighten connections for proper sealing. Ensure electrical connections match system specifications and protect them from moisture to maintain effective operation.
What is the importance of sealing connections and testing the system?
Sealing connections is crucial to prevent refrigerant leaks and ensure system efficiency. Run the unit through heating and cooling cycles during testing to confirm smooth performance and secure all connections if any issues arise.
How can I ensure the ductless mini split system operates efficiently?
Follow installation best practices such as correctly positioning the indoor and outdoor units, securing connections, and sealing properly. Regular maintenance checks every 6–12 months can help maintain efficiency and prolong the lifespan of your system.